Login With Google Với React App
# Lại gặp nhau rồi.
Hôm nay chúng ta lại sẽ thêm chức năng đăng nhập vào React mà lần này không phải Facebook nữa, thay vào đó là bằng Google nhé.
# Bắt đầu nào.
U như kỹ thôi. Chúng ta vẫn cần những thứ sau:
- Google App Developer (chắc chắn rồi)
- React App (vẫn là chắc chắn phải có)
- API server (có thể có hoặc không 😼)
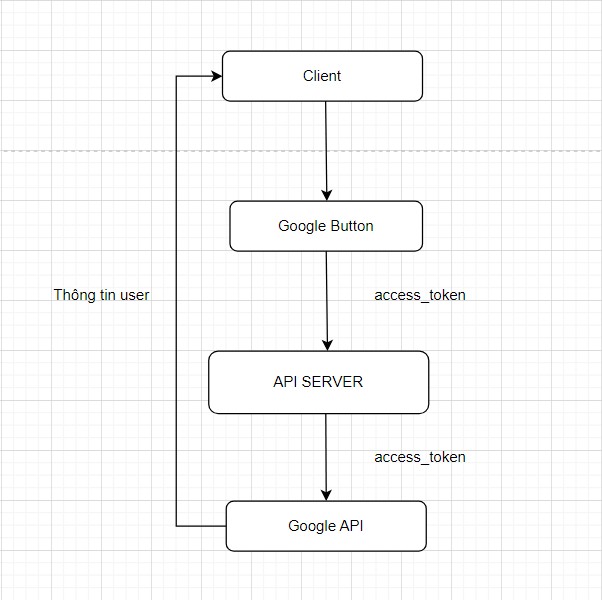
# Luồng dữ liệu đi như nào ?
Lại chẳng khác gì so với đăng nhập bên Facebook cả.
# Google.
Truy cập vào đây để đăng ký tài khoản developer Google, xong rồi thì ta tiến hành tạo project mới thôi.
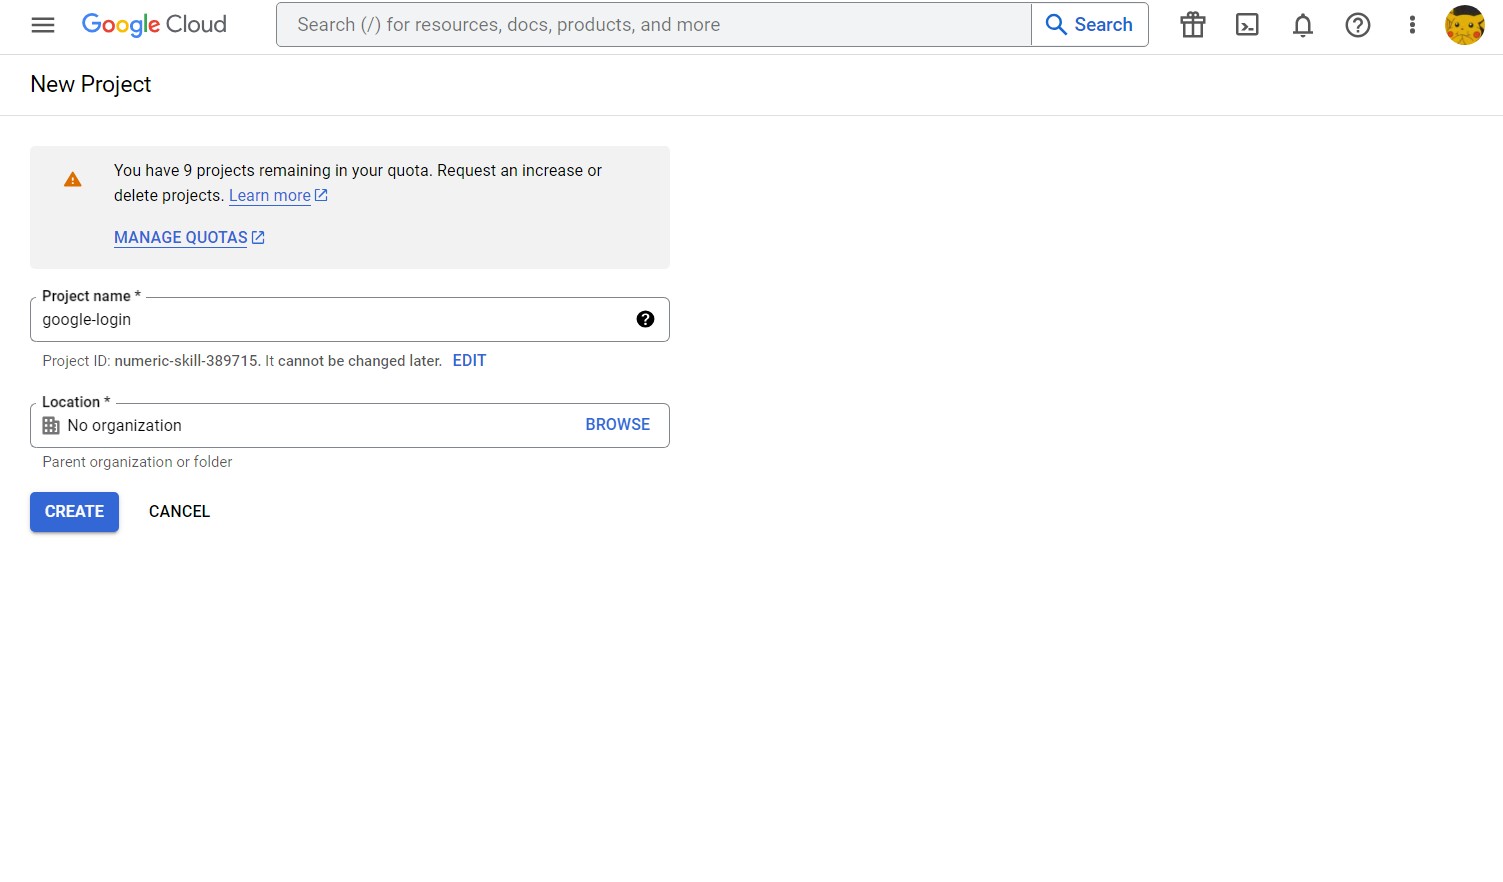
Ở đây mình đặt là google-login.
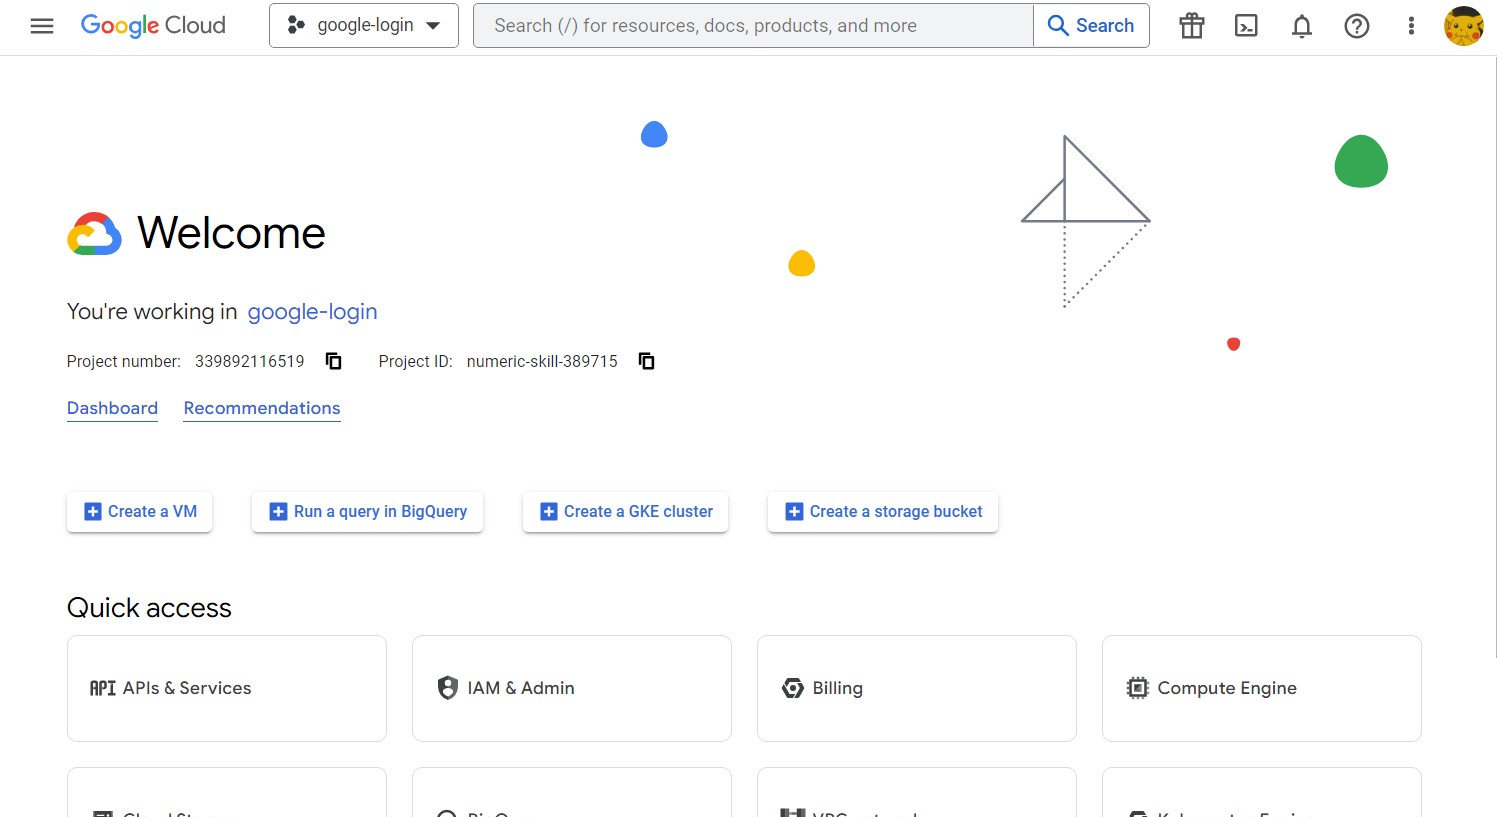
Khi tạo xong mọi người sẽ vào được trang dashboard như này. Trong phần Quick Access chọn
tiếp APIs & Services.
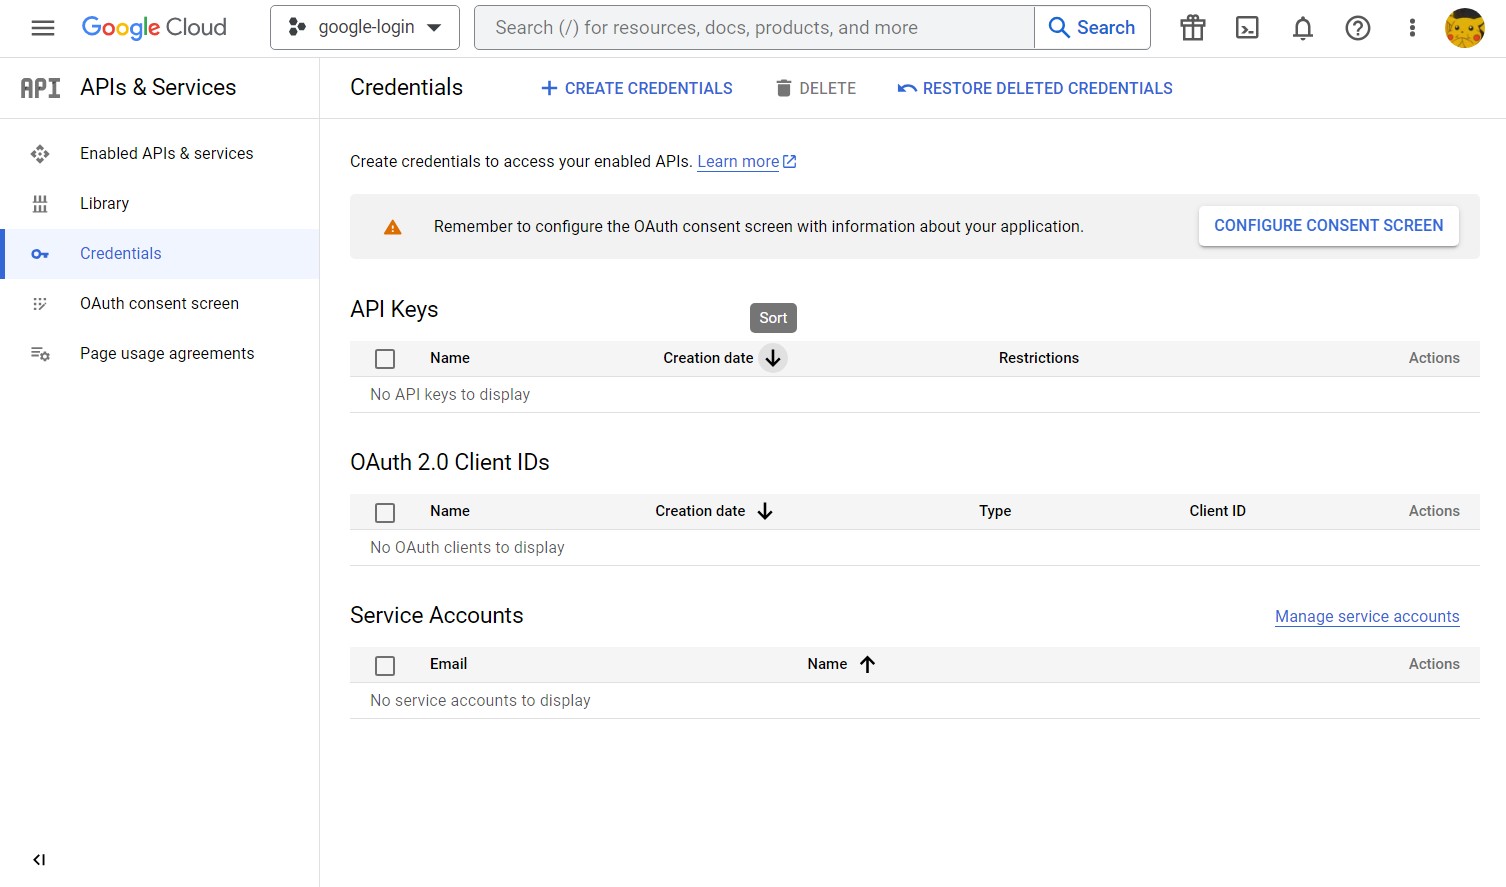
Vào đây mọi người chọn Credentials và chọn + CREATE CREDENTIALS nhé.
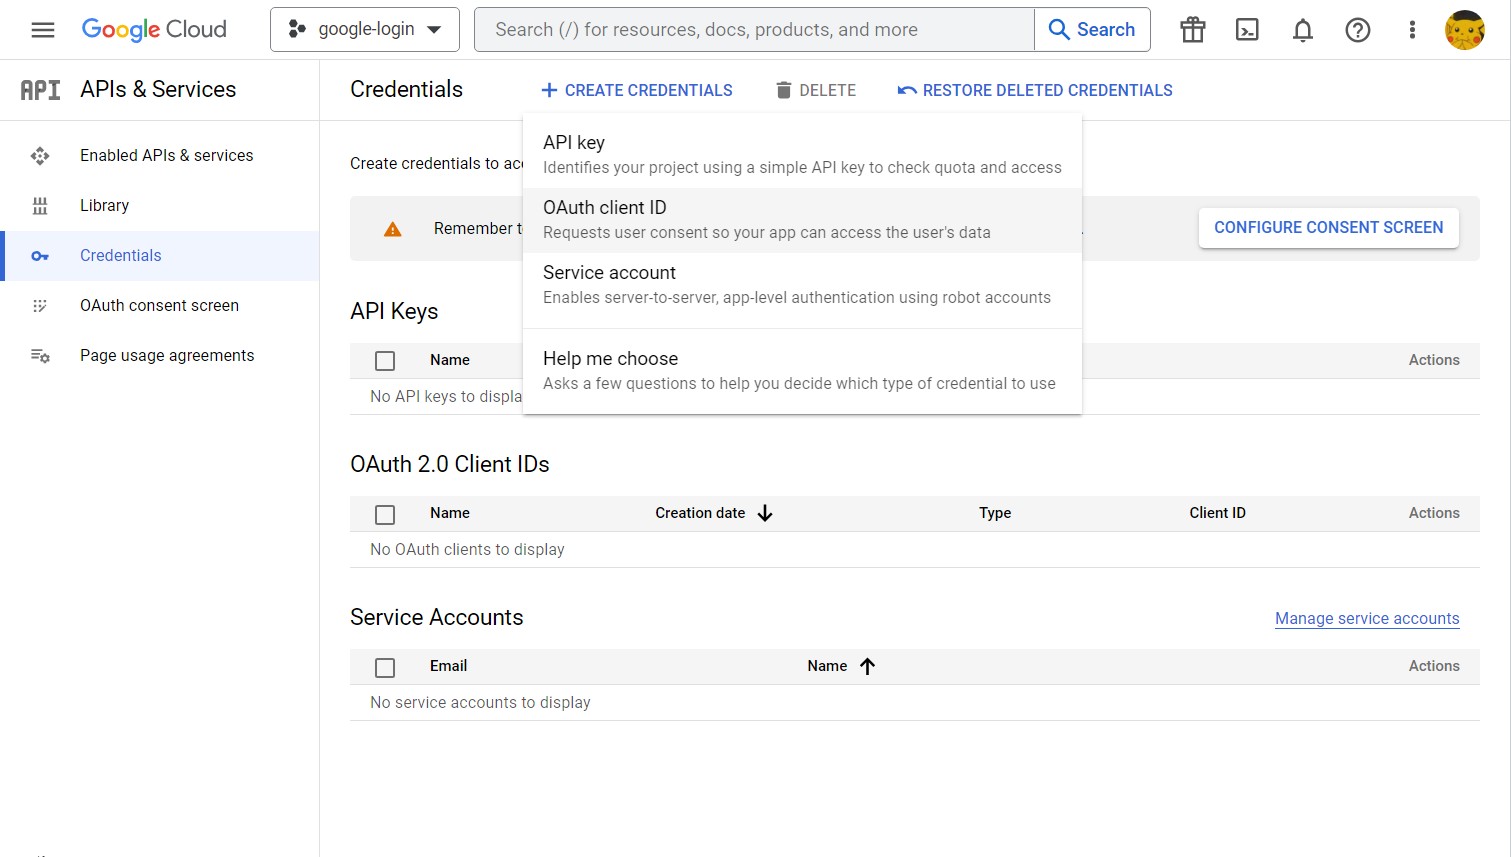
Tiếp tục chọn phần OAuth client ID
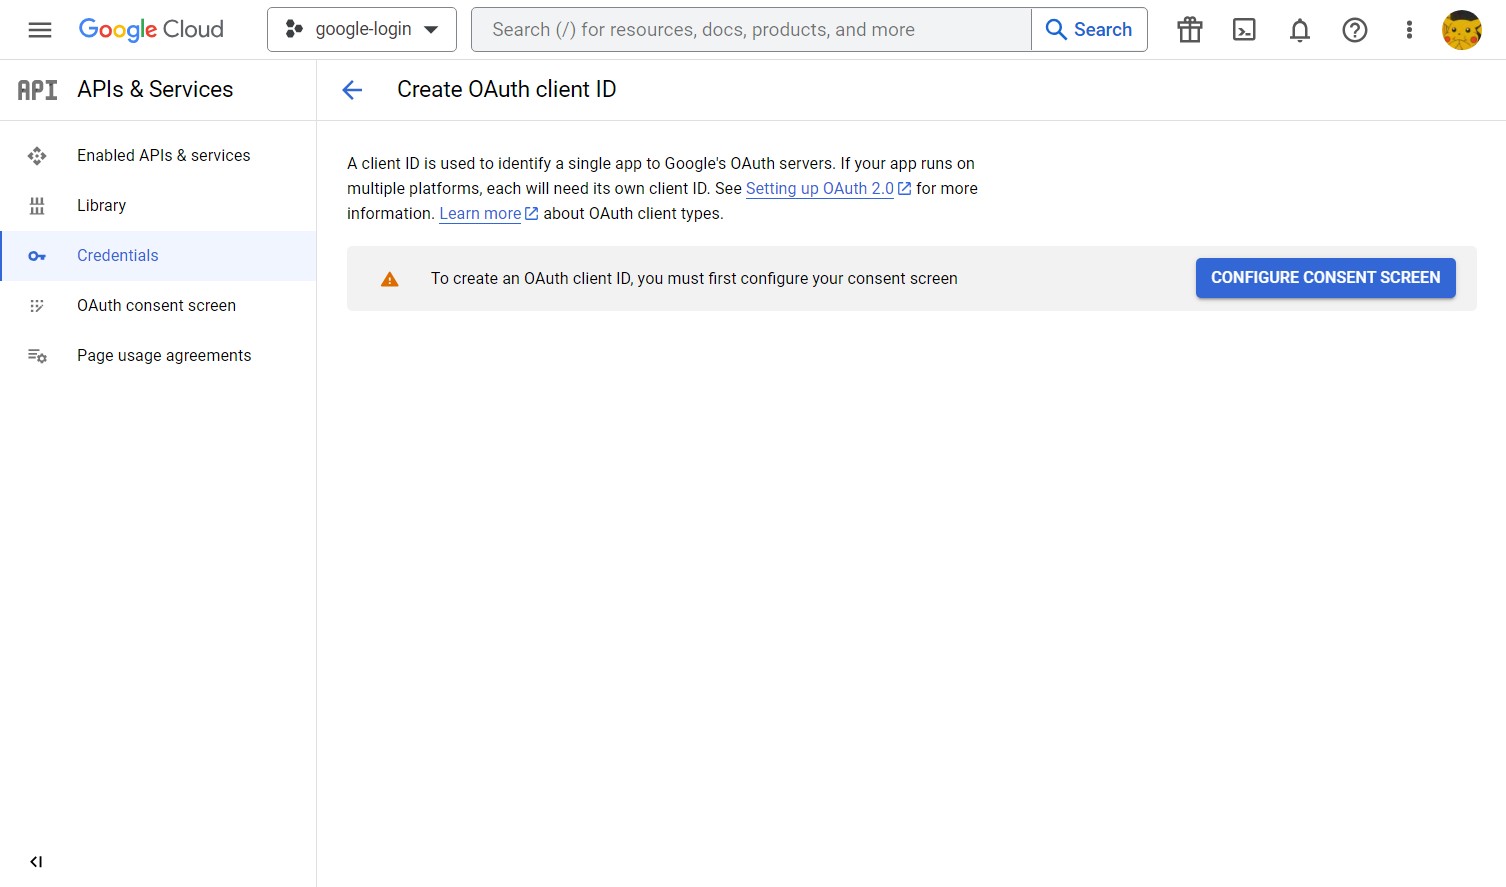
Nhấn nút CONFIGURE CONSENT SCREEN để tạo nhé.
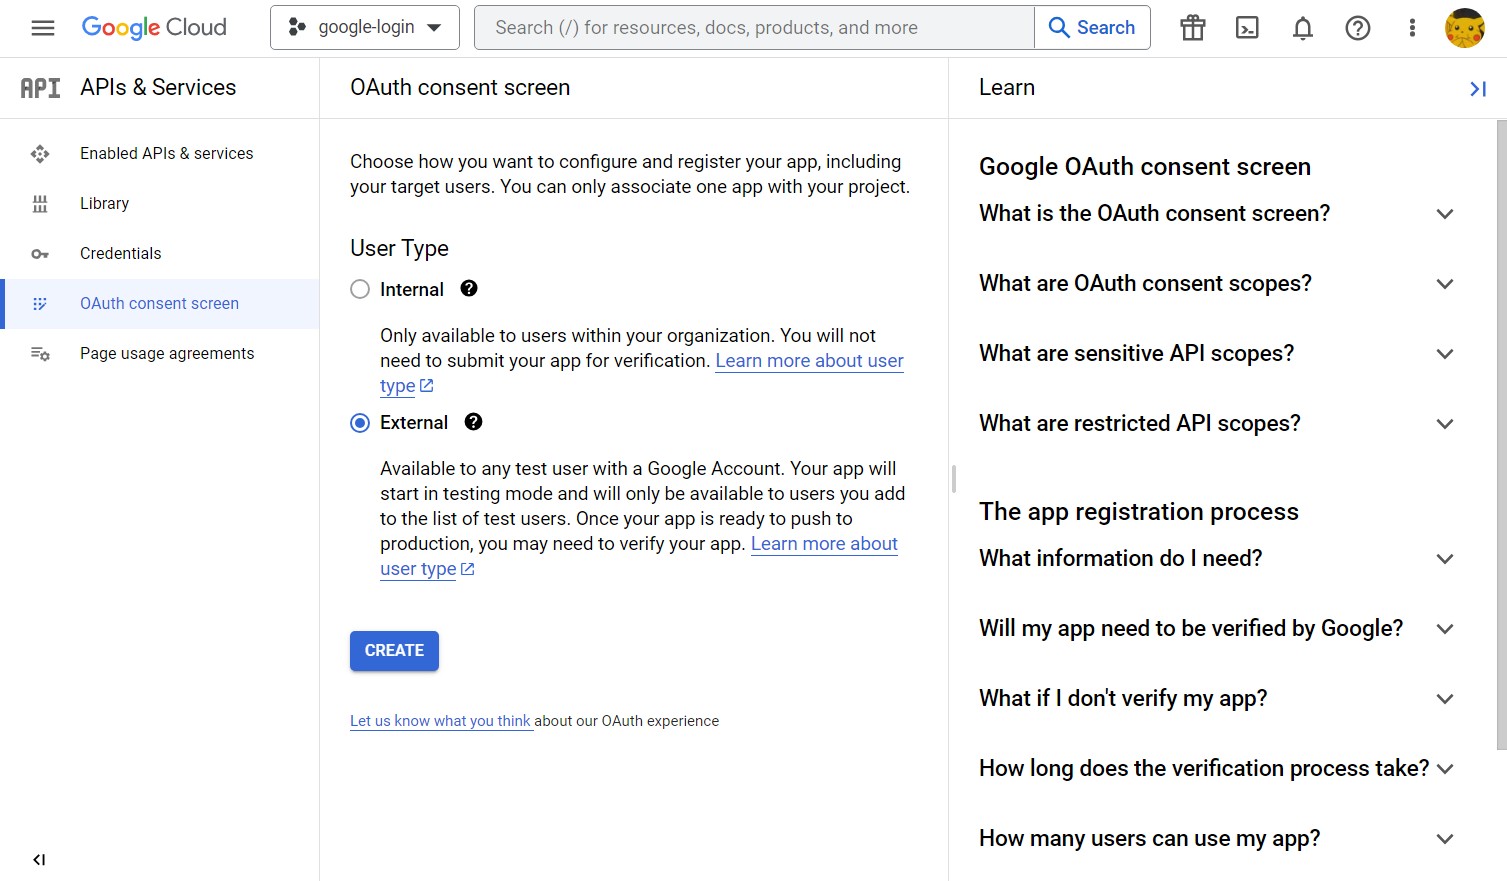
Chọn option External để cho tất cả các user khác đều có thể truy cập ứng dụng nhé, chọn trên là chung công ty á 😒. Xong rồi nhấn CREATE thôi.
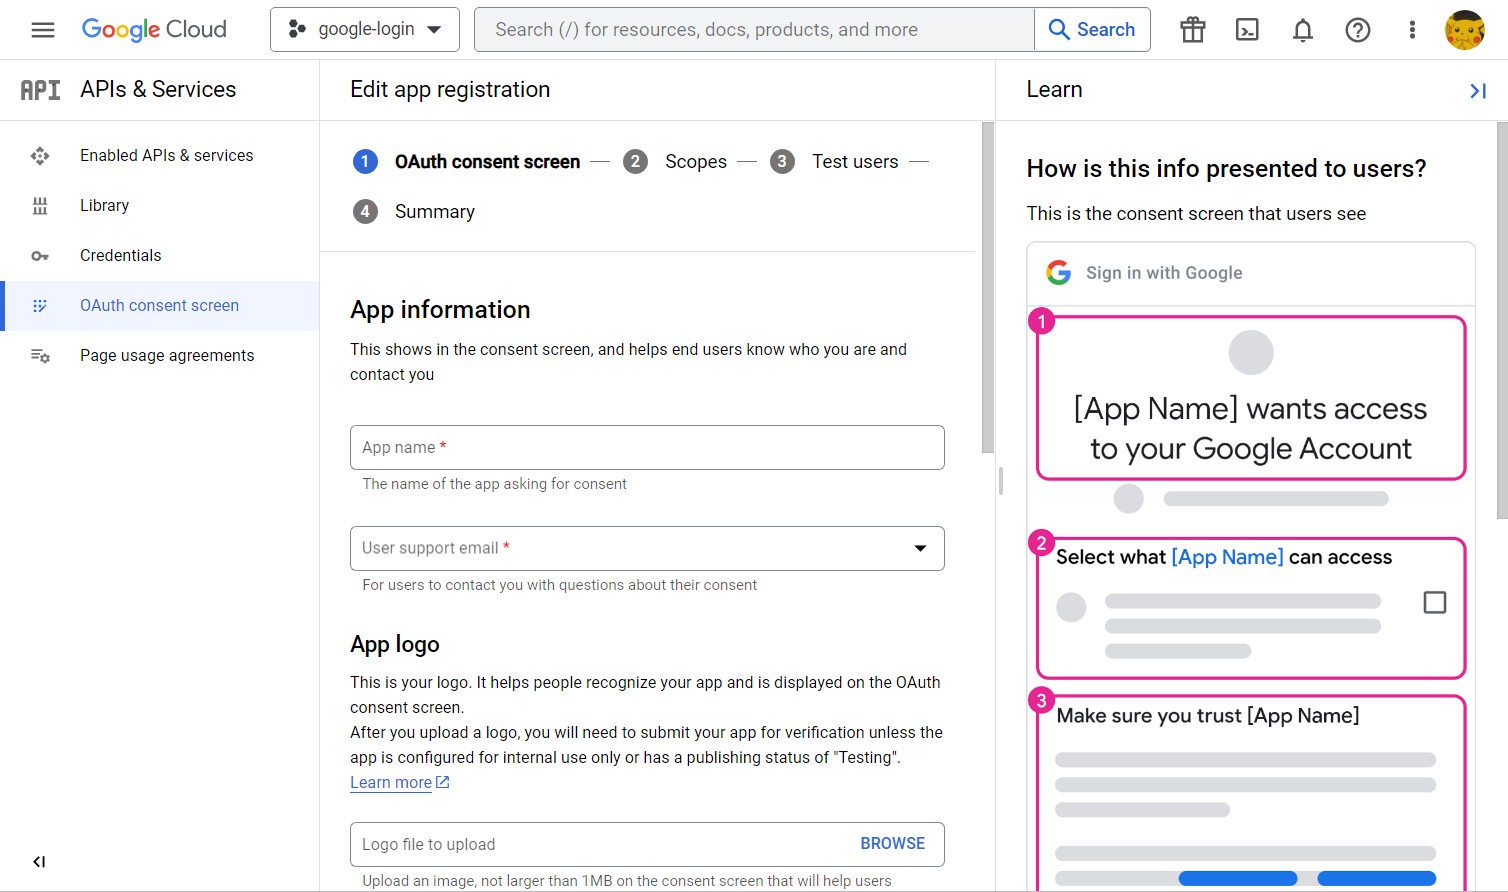
Tới đây vẫn là mấy bước cơ bản nhập thông tin của ứng dụng vào thôi. Mọi người nhập đầy đủ nhé.
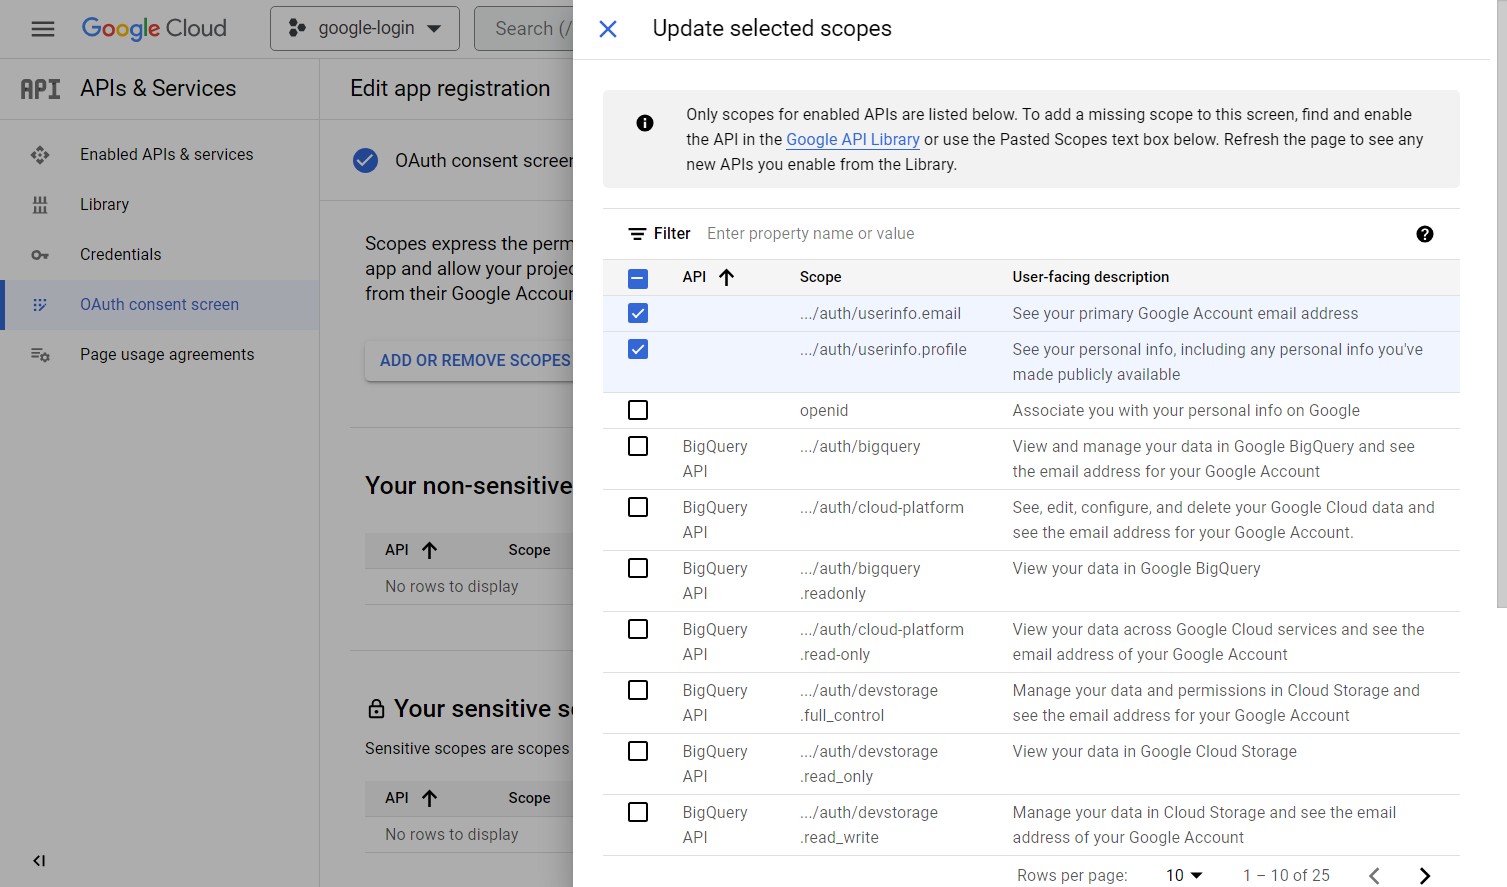
Tới bước này mọi người chọn 2 option đầu nhé. Xong rồi Tiếp tục.
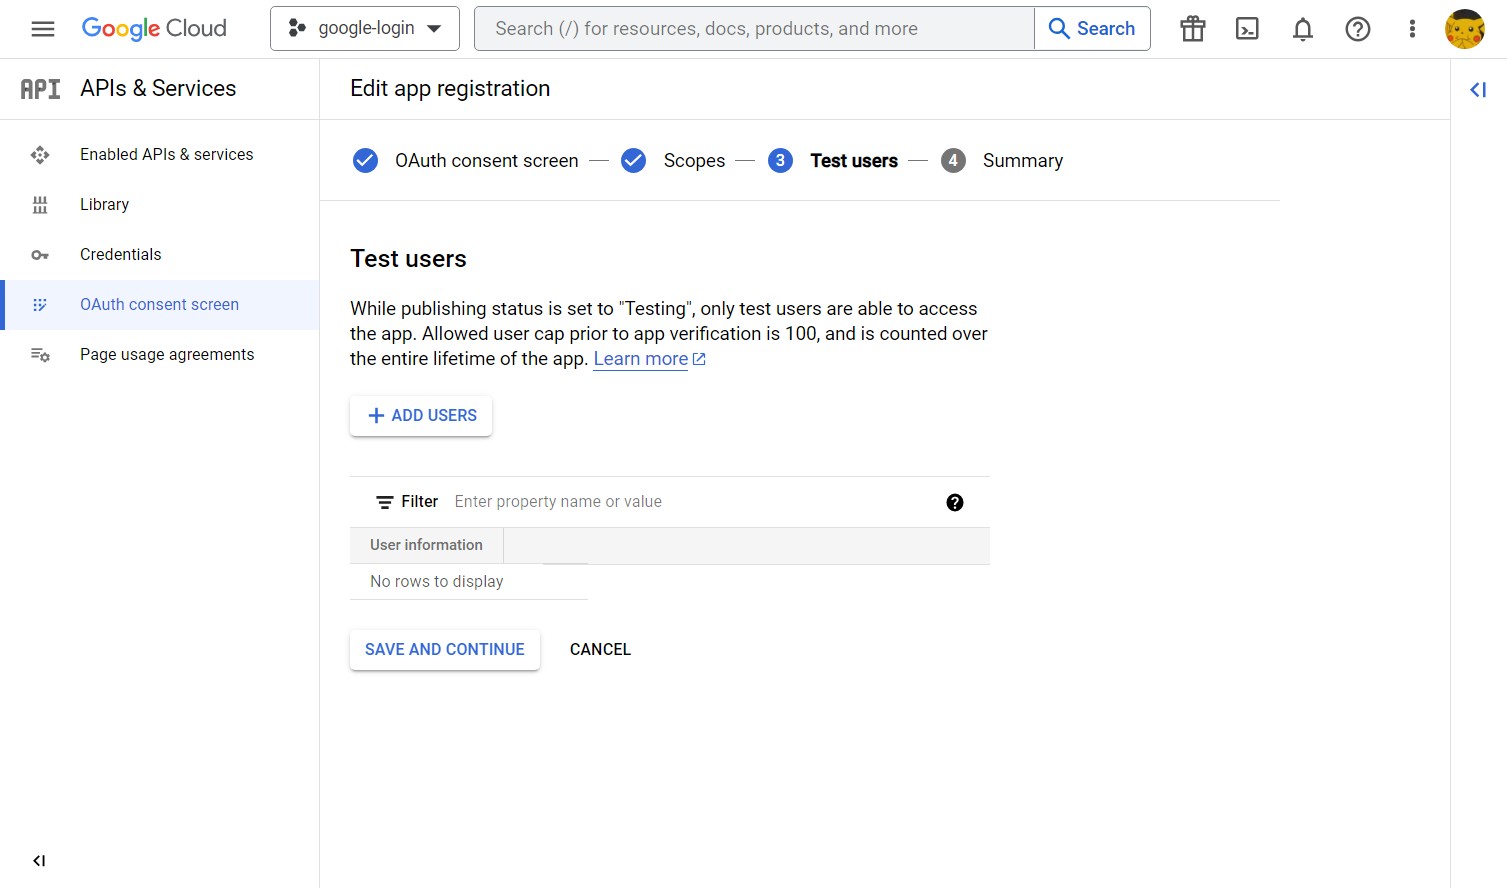
Tạo các user để test.
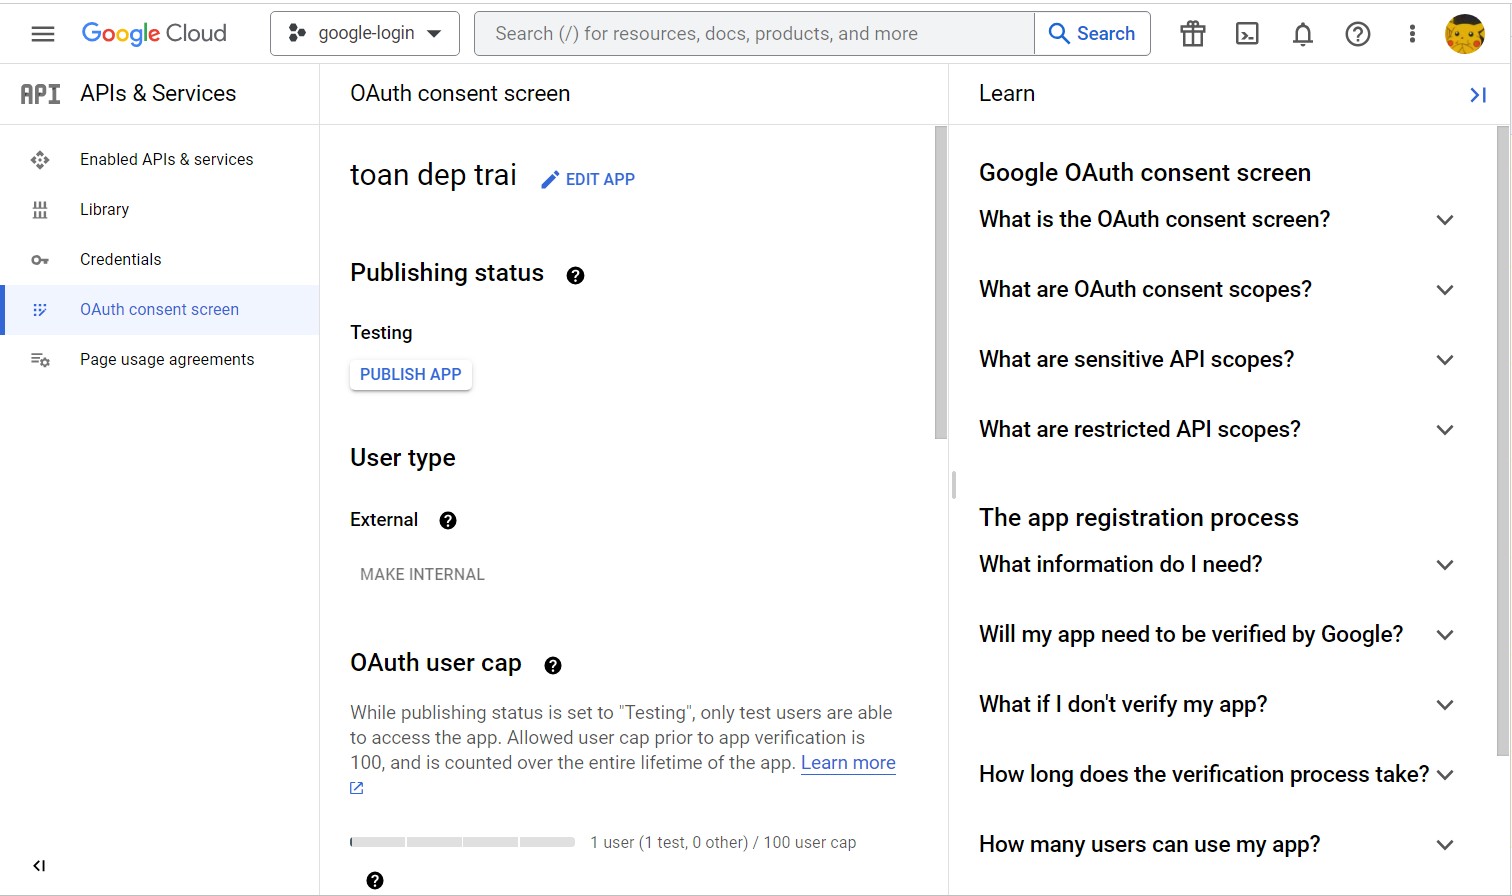
Hoàn tất các bước thì lại quay về trang Dashboard 😉. NHƯNG mà vẫn chưa xong đâu.
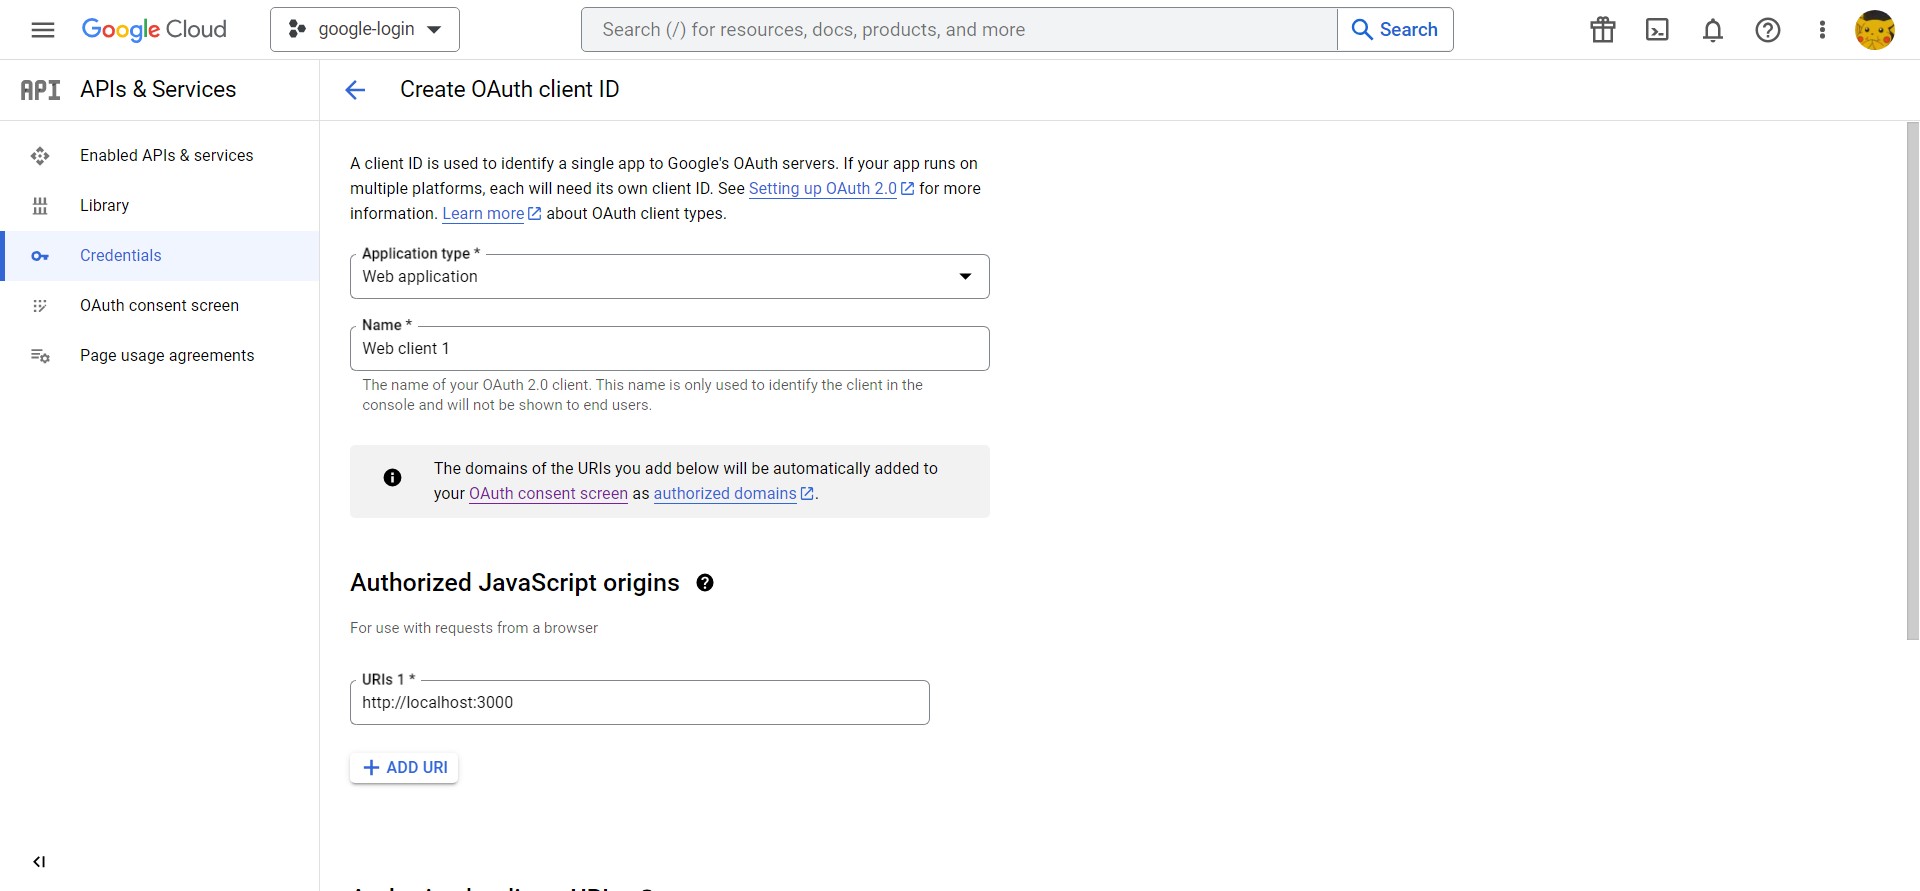
Quay trở lại và tạo phần OAuth 2.0 Client IDs rồi mới nhận được clientID nhé. Copy nó qua một bên để xíu dùng liền.
Giờ mới xong phần Google , qua tới phần React.
# React
(Làm biếng nên copy lại y chang bên bài bên kia nhé 😼)
Tiến hành tạo mới một react app thôi.
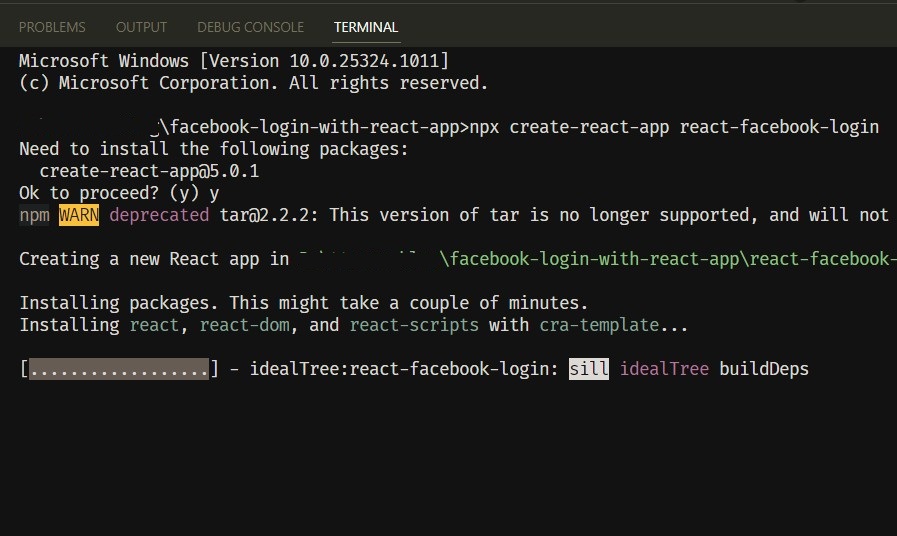
npx create-react-app react-google-login
Nếu máy bạn chưa có package create-react-app thì nó sẽ hỏi
Need to install the following packages:
  create-react-app@5.0.1
Ok to proceed? (y)
Nhấn y rồi enter
Đợi nó cài đặt thôi.
Xong rồi 🎉
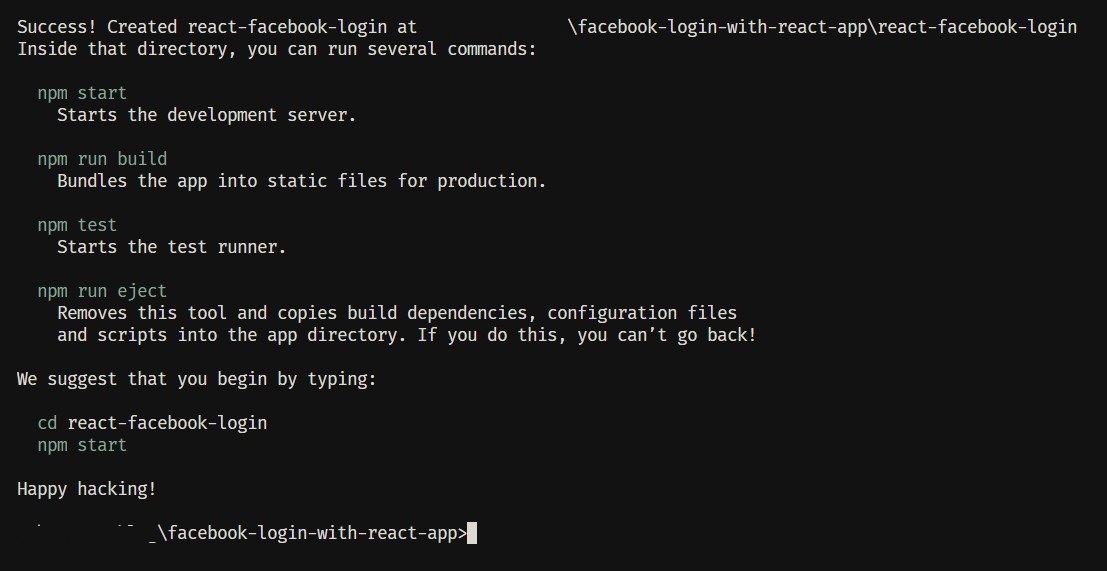
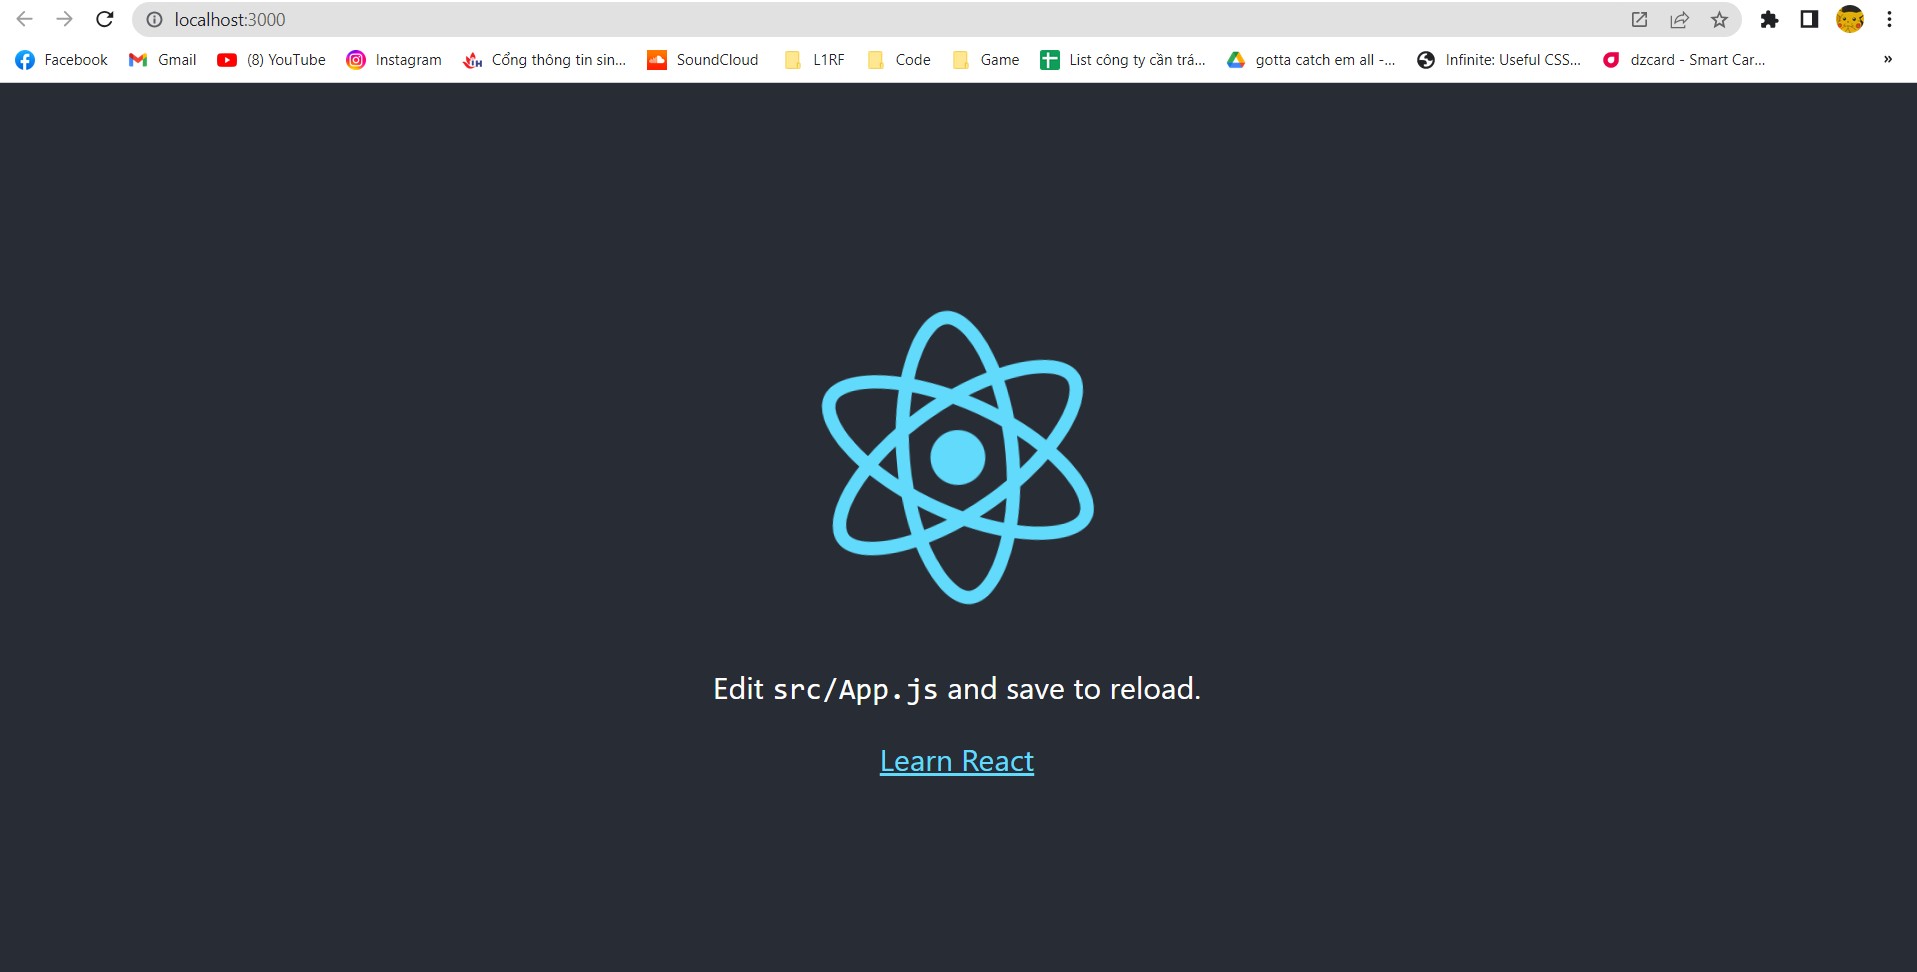
Giờ thì khởi chạy react app thôi
cd react-google-login
npm start
Ở bài viết kia mình dùng thư viện react-facebook-login, còn ở đây là Google, nên chúng ta sẽ dùng cái này @react-oauth/google.
npm i @react-oauth/google

nếu mọi người dùng yarn

yarn add @react-oauth/google
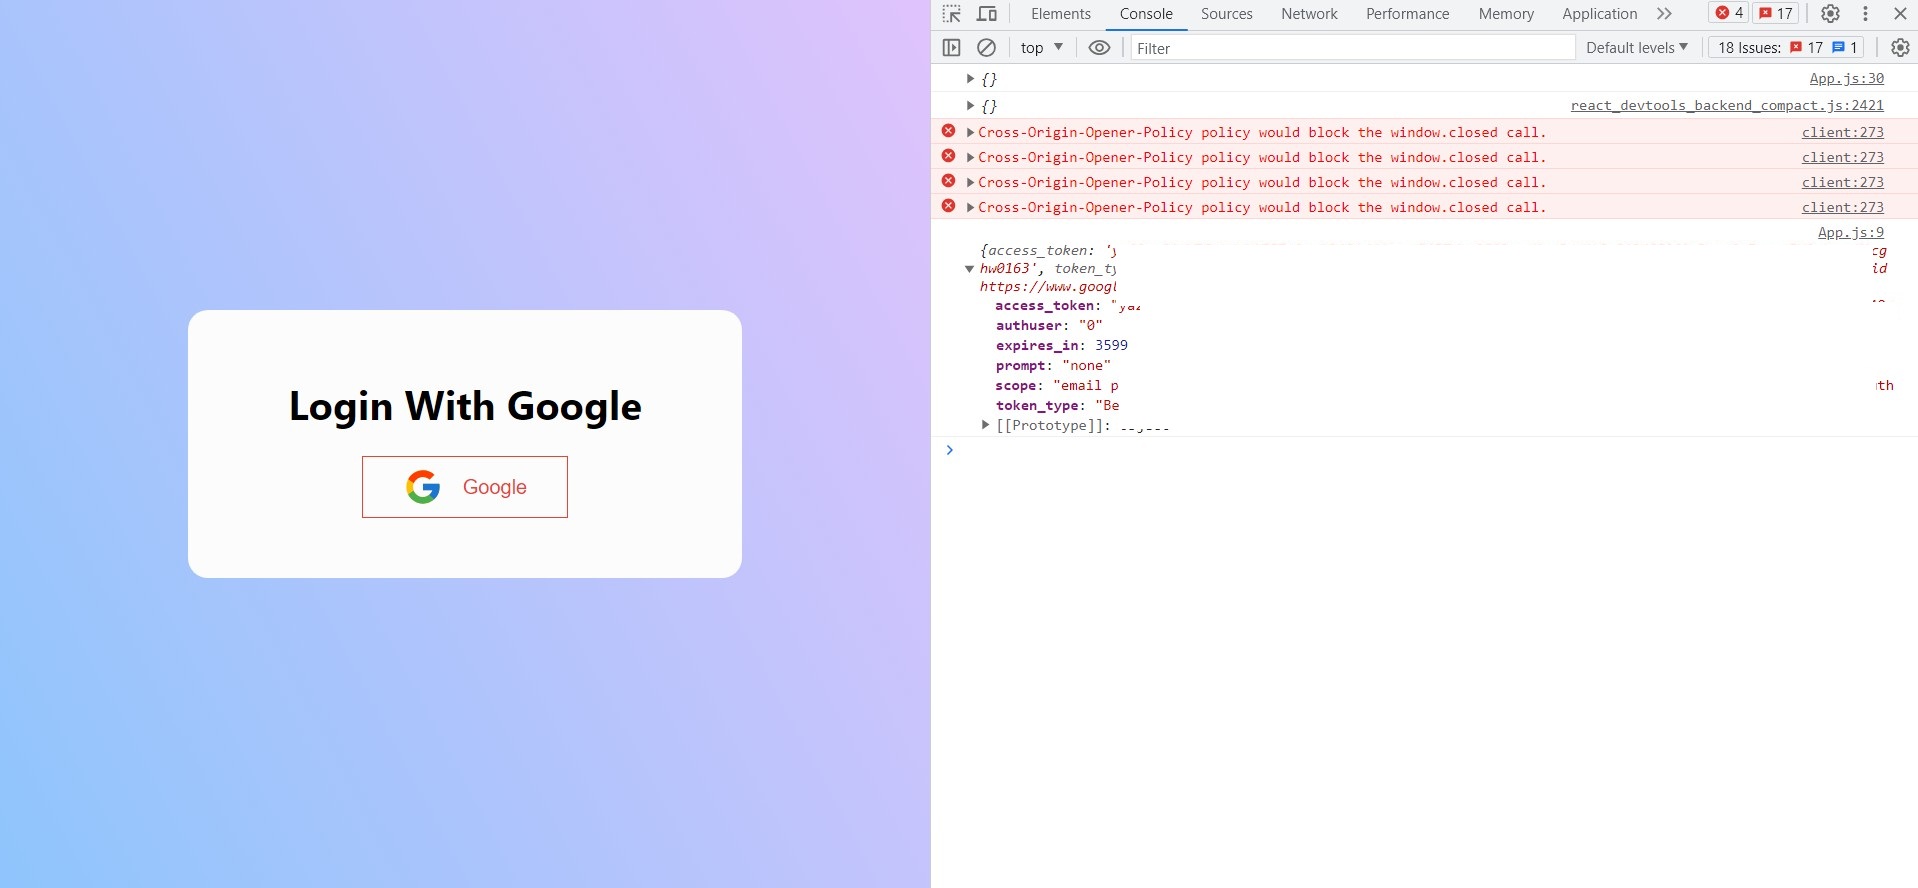
Ứng dụng hôm nay sẽ rất đơn giản. Chỉ có duy nhất một nút Đăng nhập bằng Google, sau khi đăng nhập xong sẽ hiển thị thông tin của user ngay tại page đó luôn nhé (tại mình lười).
Tiến hành mở lên code thôi. Ở file App.js nó sẽ như thế này.
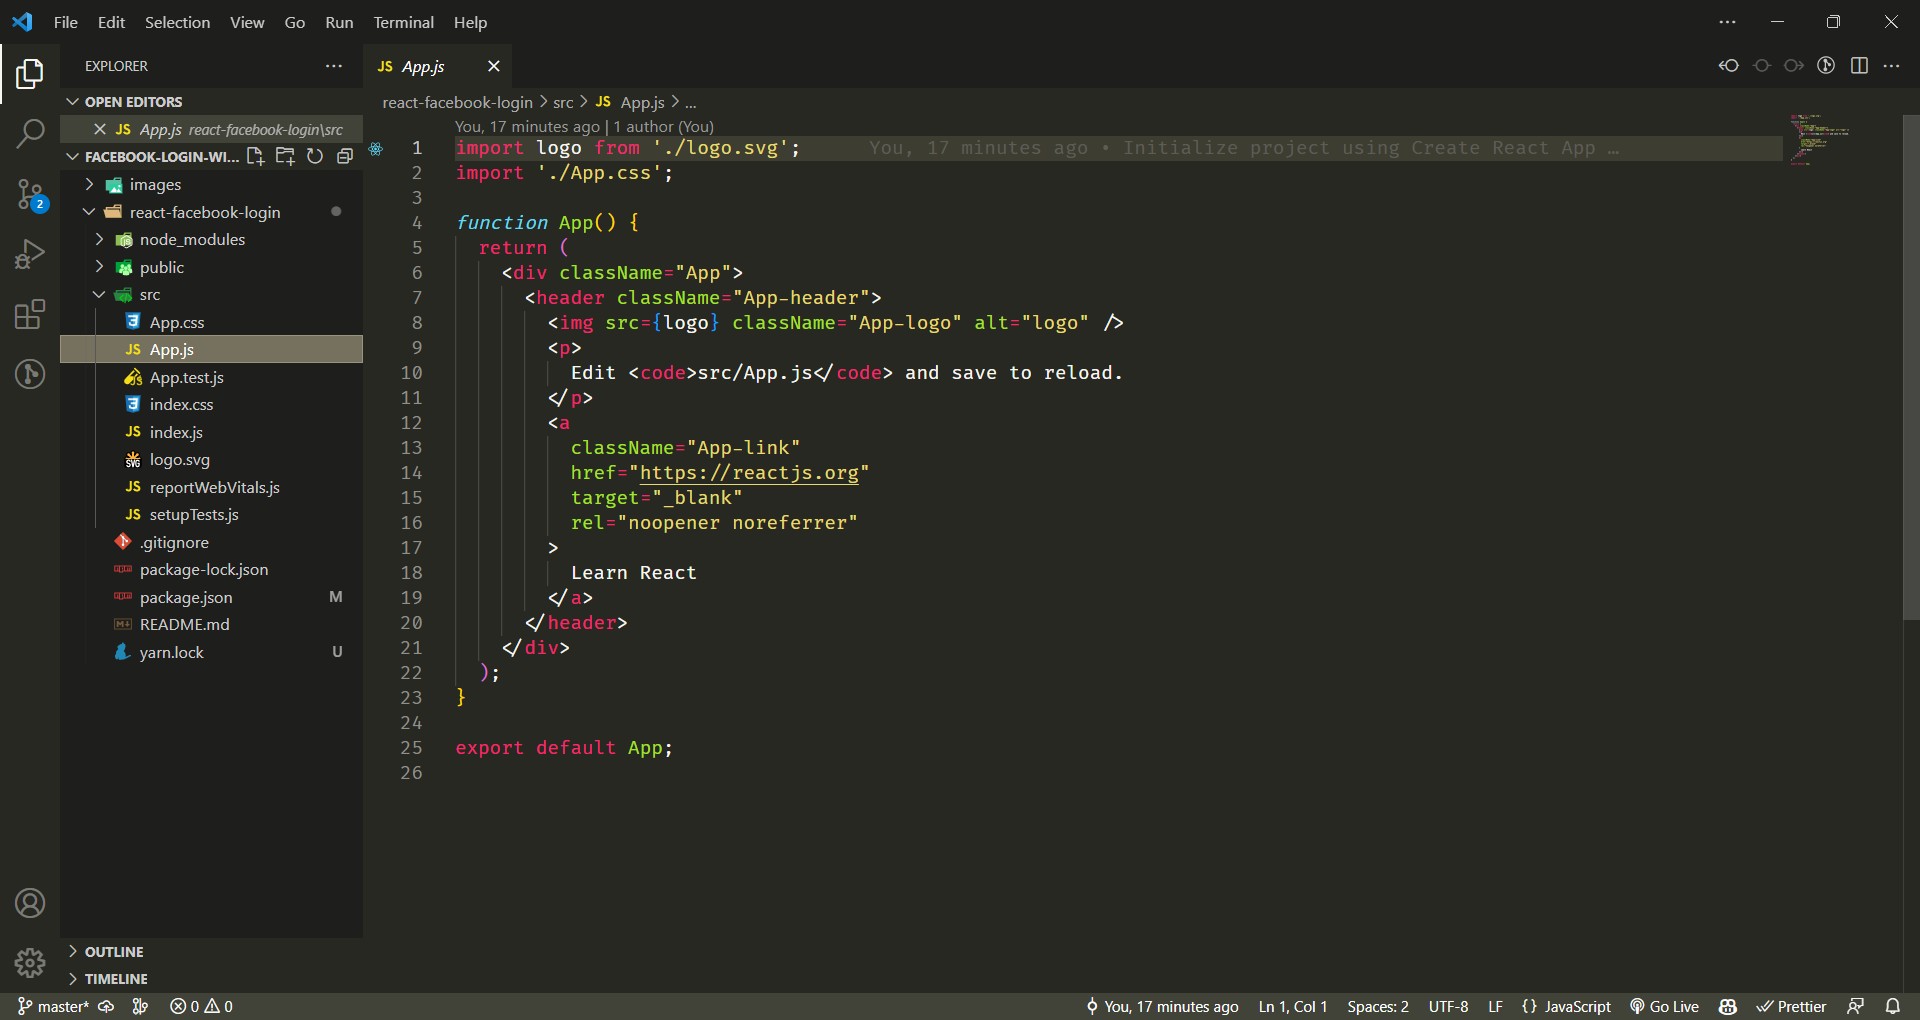
Code thôi.
Ở file App.js mình sẽ sửa lại như này.
import "./App.css"
import { useState } from "react"
import { useGoogleLogin } from "@react-oauth/google"

function App() {
  const [user, setUser] = useState({})
  const handleLogin = async (data) => {
    try {
      const response = await fetch("http://localhost:5000/token", {
        method: "POST",
        headers: {
          "Content-Type": "application/json"
        },
        body: JSON.stringify(data)
      });
      const result = await response.json()
      setUser(result.user)
    } catch (error) {
      console.log(error)
    }
  }

  const loginGoogle = useGoogleLogin({
    onSuccess: (codeResponse) => handleLogin(codeResponse),
    onError: (error) => console.log("Login Failed:", error)
  })

  console.log(user)
  return (
    <div className="wrapper">
      <div className="container">
        {user.name ? (
          <>
            <img src={user.picture} alt={user.name} />
            <div>
              <p>{user.name}</p>
              <p>{user.email}</p>
            </div>
          </>
        ) : (
          <>
            <h1>Login With Google</h1>
            <button
              onClick={loginGoogle}
              type="button"
              className="button-google"
            >
              <svg
                xmlns="http://www.w3.org/2000/svg"
                x="0px"
                y="0px"
                width="2rem"
                height="2rem"
                viewBox="0 0 48 48"
              >
                <path
                  fill="#FFC107"
                  d="M43.611,20.083H42V20H24v8h11.303c-1.649,4.657-6.08,8-11.303,8c-6.627,0-12-5.373-12-12c0-6.627,5.373-12,12-12c3.059,0,5.842,1.154,7.961,3.039l5.657-5.657C34.046,6.053,29.268,4,24,4C12.955,4,4,12.955,4,24c0,11.045,8.955,20,20,20c11.045,0,20-8.955,20-20C44,22.659,43.862,21.35,43.611,20.083z"
                ></path>
                <path
                  fill="#FF3D00"
                  d="M6.306,14.691l6.571,4.819C14.655,15.108,18.961,12,24,12c3.059,0,5.842,1.154,7.961,3.039l5.657-5.657C34.046,6.053,29.268,4,24,4C16.318,4,9.656,8.337,6.306,14.691z"
                ></path>
                <path
                  fill="#4CAF50"
                  d="M24,44c5.166,0,9.86-1.977,13.409-5.192l-6.19-5.238C29.211,35.091,26.715,36,24,36c-5.202,0-9.619-3.317-11.283-7.946l-6.522,5.025C9.505,39.556,16.227,44,24,44z"
                ></path>
                <path
                  fill="#1976D2"
                  d="M43.611,20.083H42V20H24v8h11.303c-0.792,2.237-2.231,4.166-4.087,5.571c0.001-0.001,0.002-0.001,0.003-0.002l6.19,5.238C36.971,39.205,44,34,44,24C44,22.659,43.862,21.35,43.611,20.083z"
                ></path>
              </svg>
              <span className="button-google-text">Google</span>
            </button>
          </>
        )}
      </div>
    </div>
  )
}

export default App
À Google này nó có Provider nữa nên mọi người nhớ thêm vào nhaa, mình sẽ thêm vào file index.js
import React from 'react'
import ReactDOM from 'react-dom/client'
import './index.css'
import App from './App'
import reportWebVitals from './reportWebVitals'
import { GoogleOAuthProvider } from '@react-oauth/google'

const root = ReactDOM.createRoot(document.getElementById('root'))
root.render(
    <React.StrictMode>
        <GoogleOAuthProvider clientId="your-clientID">
            <App />
        </GoogleOAuthProvider>
    </React.StrictMode>
)

// If you want to start measuring performance in your app, pass a function
// to log results (for example: reportWebVitals(console.log))
// or send to an analytics endpoint. Learn more: https://bit.ly/CRA-vitals
reportWebVitals()
Phần your-clientID mọi người copy cái hồi nãy mình nói để gắn vào.
Thêm css cho đời lại thêm đẹp 🎉🎉🎉
.wrapper {
  min-height: 100vh;
  background-color: #8ec5fc;
  background-image: linear-gradient(62deg, #8ec5fc 0%, #e0c3fc 100%);
}
.wrapper,
.container {
  display: flex;
  align-items: center;
  justify-content: center;
}
.container {
  flex-direction: column;
  padding: 2rem 5rem 3rem;
  background-color: #fcfcfc;
  border-radius: 1rem;
}
.button-google {
  padding: 0.5rem 2rem;
  background-color: transparent;
  border: none;
  outline: none;
  cursor: pointer;
  display: flex;
  align-items: center;
  justify-content: center;
  transition: opacity 0.3s;
  border: 1px solid #ea4335;
}
.button-google-text {
  color: #ea4335;
  line-height: 1;
  font-size: 1rem;
  margin-left: 1rem;
}
.button-google:hover {
  opacity: 0.8;
}
Vậy là xong, test thử thôi.
Ok hoạt động rồi, mọi người nên chọn Publish App để test bằng tài khoản thật cho dễ, nãy mình tạo tài khoản test nhưng giờ không dùng được 😒😒😒.
# API server
Lại lấy con server cũ ra mà dùng thôi, code lại cho mất công, mọi người qua bài viết này để xem lại nhé, mình chỉ sửa lại code 1 xíu thôi.
const express = require("express")
const app = express()

app.use(express.json())

const cors = require("cors")
app.use(
  cors({
    origin: "http://localhost:3000",
    credentials: true
  })
)

app.post("/token", async function (req, res) {
  try {
    const { access_token } = req.body

    if (!access_token) {
      return res.status(400).json({ message: "Missing field" })
    }

    const result = await fetch(
      `https://www.googleapis.com/oauth2/v1/userinfo?access_token=${access_token}`,
      {
        method: "GET",
        headers: {
          Authorization: `Bearer ${access_token}`,
          Accept: "application/json"
        }
      }
    );
    const { email, picture, name } = await result.json()

    const user = {
      name,
      email,
      picture
    }

    return res.status(200).json({
      user
    })
  } catch (error) {
    return res.status(500).json({ message: error.message })
  }
})

app.listen(5000)
OK nhanh gọn lẹ làng, chúng ta đã xong hết, giờ thì test thôi 😼
Tuyệt vời. 🎉🎉🎉.
# Kết thúc.
Vậy là chúng ta đã hoàn thành xong chức năng đăng nhập bằng Google với React App rồi.
Cảm ơn mọi người đã dành thời gian đọc.
Mọi người có thể tham khảo code ở đây